
Follow this guide to learn the basics and start receiving calls into your contact centre in 15 minutes, this is a fast way to get up and running and to see how easy Topa Dial is to use, it is not meant as an exhaustive guide of all the features, you can learn them later.
Telephone Numbers
Navigate to the telephone numbers page

Here, you can purchase telephone numbers and choose what destination they reach.
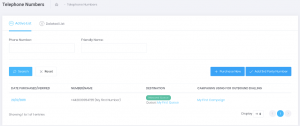
You already have 1 telephone to start with, so let’s use that to test.
If you click on the pencil icon next to the telephone number, you can edit the destination.
Set the destination to an inbound queue, you already have 1 queue setup “My First Queue” so lets point it to that.
Queues
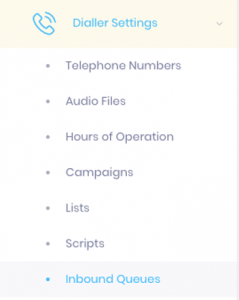
Let’s setup the queue… Navigate to “Inbound Queues”
Here you can expand the queue by clicking the Green + icon, and edit the settings.
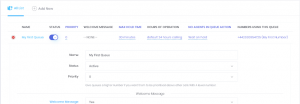
You can set a welcome message, a max hold time and message, custom hold music, hours of operation and out of hours message, and whether or not we will allow customers to queue if there are no agents logged in. We will explain all of these in our inbound queues tutorial. Any changes you make to the queue, click save.
Now you have your telephone number pointed to a queue and you’ve reviewed the settings, you can call the queue by ringing the telephone number. Next, log an agent in so when you call the number, the agent can receive the call.
Campaigns
All agents must login to a campaign. Campaigns can make outbound manual calls, automated outbound calls, and receive inbound calls for queues. For example, If you were selling 2 types of products using outbound calls, you would typically have 2 campaigns, with different lists of customers to call.
For inbound calls, it’s up to you how many campaigns you have. Let’s say you have 4 inbound queues, 2 relating to technical support, and 2 relating to sales. We would suggest you have 2 campaigns, one relating to technical support and one relating to sales. You would then activate the 2 technical support queues in the technical support campaign, and the 2 sales related queues in the sales campaign. Or you could just have 1 campaign with all queues in, its up to you.

Navigate to the Campaigns page, and on your first campaign, click the campaign pencil icon
Scroll to the bottom of the campaigns page

Tick the box to select the allowed inbound queue so agents in this campaign can receive those calls.
Agent Login
Firstly, this is your agent login button from the admin interface

Click on this link to go to the agent login page, you should give your staff/agents this login page so they can access it themselves.
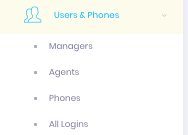
Your Agent Login details can be found here, in “Agents” or “All Logins”
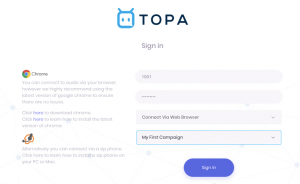
On the agent login page, enter the agents logins & select “Web Phone” this is the easiest & fastest method to connect the audio to your pc, however we highly recommend you install the latest version of Google Chrome for this to function correctly, you will have to give the browser permission to access your computers microphone by accepting the popup.
Select your first campaign in the dropdown menu.
Please note, for security we only allow agents to login on a approved IP address, we automatically approve the IP address you used when you signed up, but if your agents want to access from a different IP address, you will need to add it in the “Ip management” Tab.
Ensure you allow your browser to access the microphone

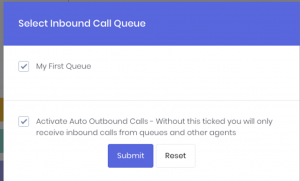
Once logged in, ensure you tick to accept calls from “My First Queue”
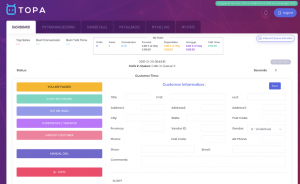
This is your Agent Interface, if you want to make a test call, click “Make a Call”
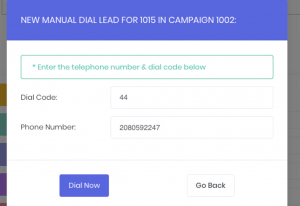
Enter a telephone number like this and click Dial Now to speak to a customer.
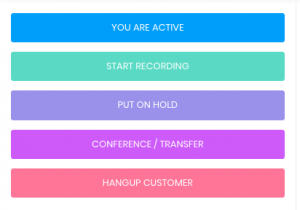
On the “You Are Paused” button, click it to turn it to “Active” this will allow the agent to receive calls from the inbound queue selected.

Now try calling your number you setup earlier on your inbound queue, and it will connect to the agent.