
Outbound Dialling in 15 Minutes
Follow this guide to learn the basics and start auto dialling in 5 minutes, this is a fast way to get up and running and to see how easy Topa Dial is to use, it is not meant as an exhaustive guide of all the features, you can learn them later.
Agent Login

Firstly, this is your agent login. Click on this link to go to the agent login page, you should give your staff/agents this login page so they can access it themselves.
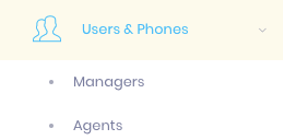
Your Agent Logins can be found here under Agents in users and phones.
On the agent login page, enter the agents logins & select “Web Phone” this is the easiest & fastest method to connect the audio to your pc, however we highly recommend you install the latest version of Google Chrome for this to function correctly, you will have to give the browser permission to access your computers microphone by accepting the popup.
Select your first campaign in the dropdown menu.
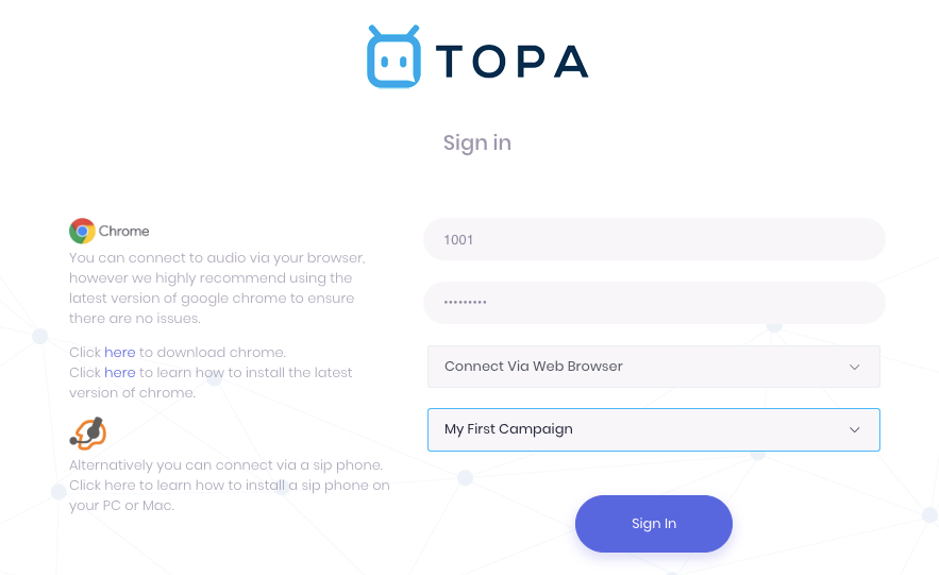
Ensure you allow your browser to access the microphone

Please note, for security we only allow agents to login on a approved IP address, we automatically approve the IP address you used when you signed up, but if your agents want to access from a different IP address, you will need to add it in the “Ip management” Tab.
Once logged in, ensure you tick this button to start automated outbound calls.

Agent Interface
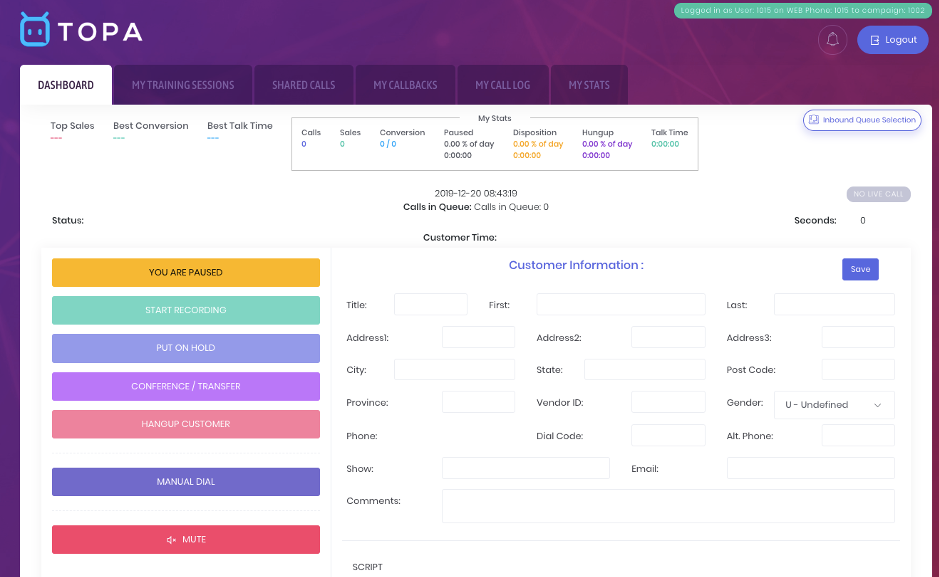
This is your Agent Interface, if you want to make a test call, click “Manual Dial”
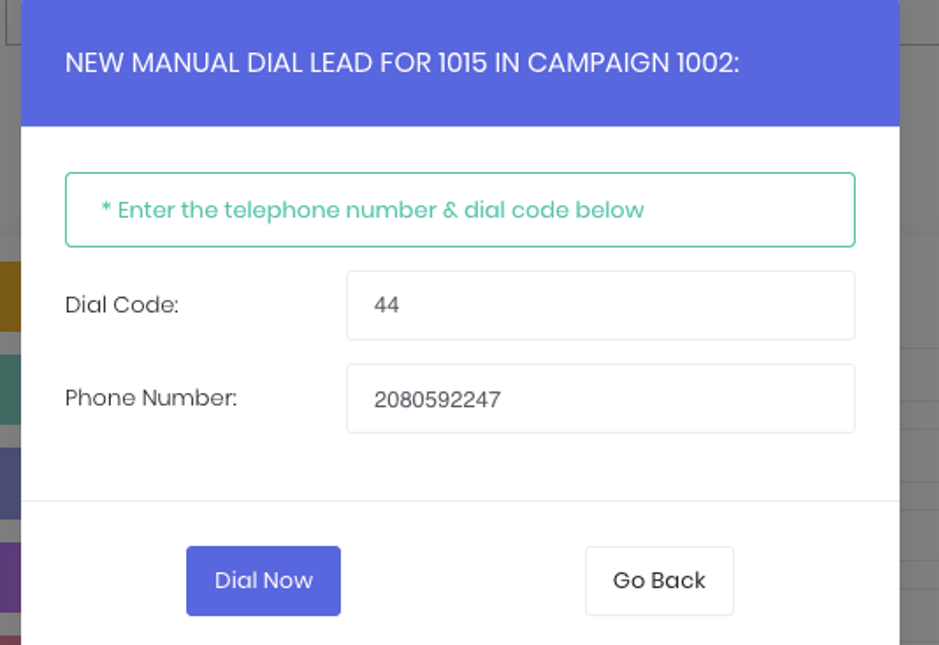
Enter a telephone number like this and click Dial Now to speak to a customer.
On the “You Are Paused” button, click it to turn it to “Active” this will initiate Live Outbound Calls (once you have uploaded a list of leads to dial from) Then calls will come through and customer details will appear
List & Lead Management
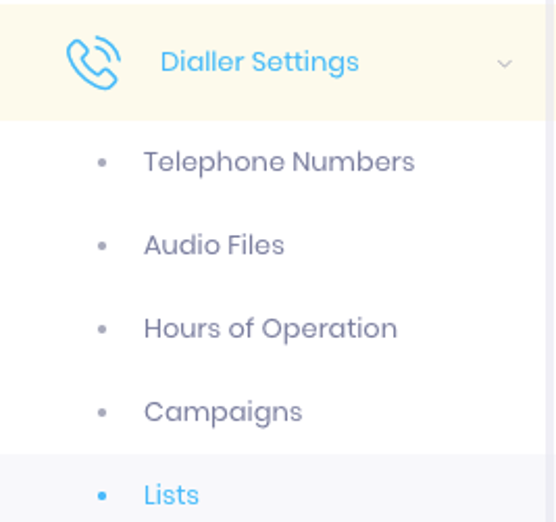
To automatically Dial Leads, you must create a new list and upload leads. Click on “Lists”

Then “Add new List”
Name your list and click save.
Then click “Upload Leads”

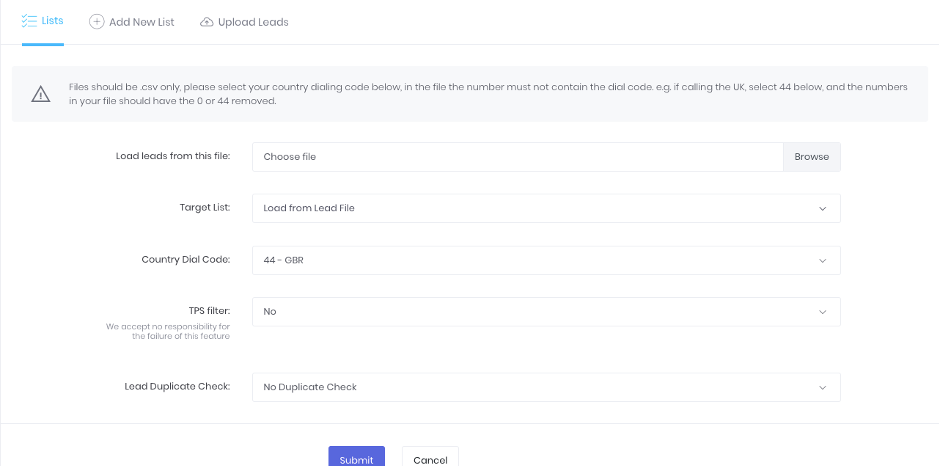
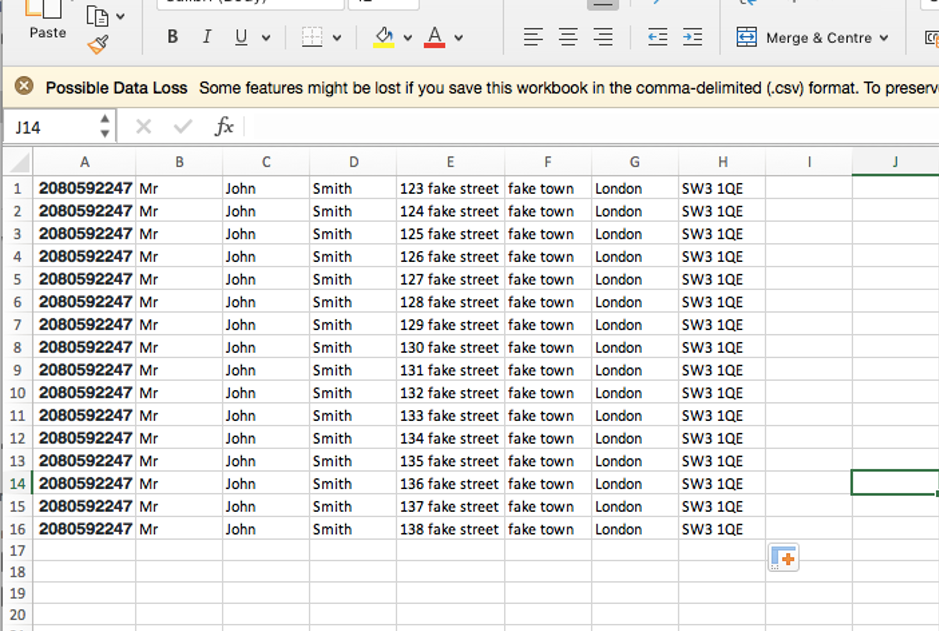
Here, you can select a file, it must be .csv format, telephone numbers must be without the dial prefix. So for the USA leave off the 1. For the UK, you can leave on the 44 or 0 on the front of the number
You can have multiple columns of data, and the columns can be in any order, below is a good example:
Browse to your CSV file with leads in, select your target list which is the list you just created.
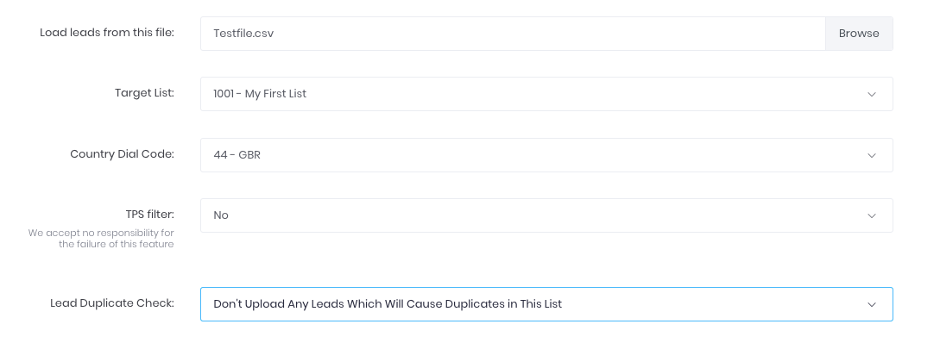
Select your countries dial code.
Select if you want to use our Free TPS filter, to remove any leads which are on the UK TPS (do not call) list.
It is generally recommended to select the lead duplicate check.
Click submit
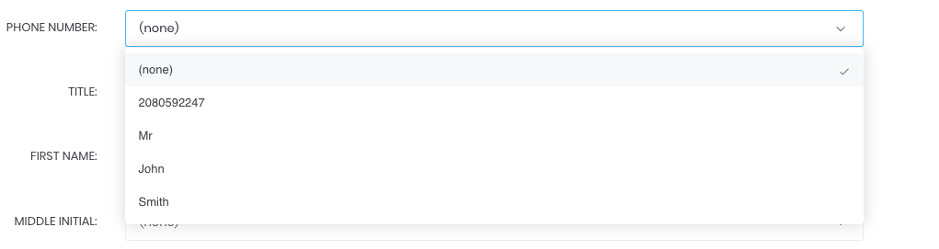
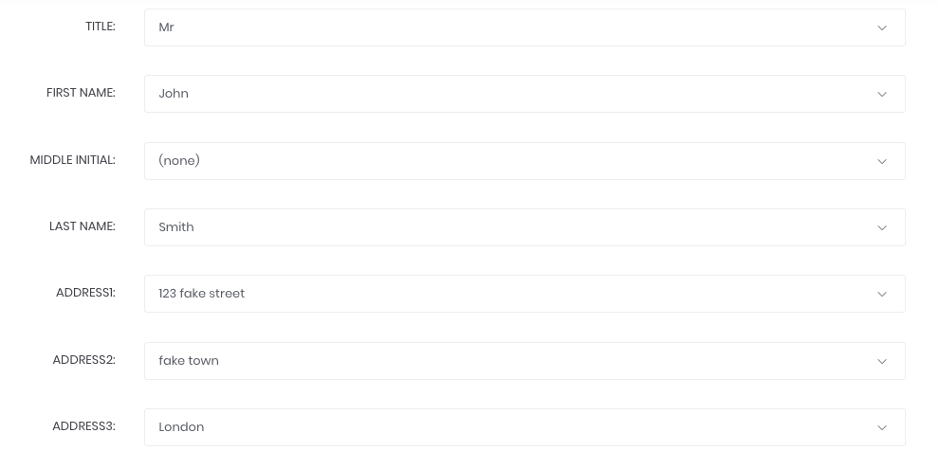
You will then move to the next screen, where you can select which columns in your sheet line up with which field.
Line up the fields
Then click Ok to process. Your leads will be inserted into the list.
When your file has been uploaded, you will receive the result like this

Your list will be allocated to your first campaign, but if you have multiple lists/campaigns, you can edit the list and assign it to a different campaign. In the below example, we can see this list is allocated to My First Campaign, and there are 50,000 dialable leads.
Campaigns
Agents need to log into a “campaign”, campaigns can dial multiple lists, and receive calls from multiple inbound “queues.” For outbound dialling, your campaigns are generally used to split up which lists/leads groups of agents dial. For example you may have a “Web Leads” campaign where you assign your web leads lists, and the agents you want to dial those web leads log into this campaign.
Navigate to the Campaigns page

Here you can edit your campaign by clicking the pencil![]()
Important settings to note:
The most popular dial method is Ratio, if we set Ratio 3 it means for every 1 agent which is on active, the dialer will send 3 calls. If your answer rate is approximately 1 in 3, then 1 customer will pick up, and be connected to the agent, and the other 2 won’t answer. 
You should select if you want call recordings on or off. On Demand means your agent can click a button to record or not record the call.
Voicemail detection detects when a line is connected to an answering machine, if it detects an answering machine, it wont connect that call to any agent.
Now, you are ready to start Dialing. Return to the agent Page, put the agent on active and calls will start connecting to the agent.
Wallboard
A very useful tool to any Contact Centre, is the wallboard.
Use this to see what your agents are doing, and if calls are ringing and many other important stats.